How to Remove a Stripped Slotted Screw
Remove a Stripped Flat-Head Screw. Practical removal sequence that protects the surrounding material.
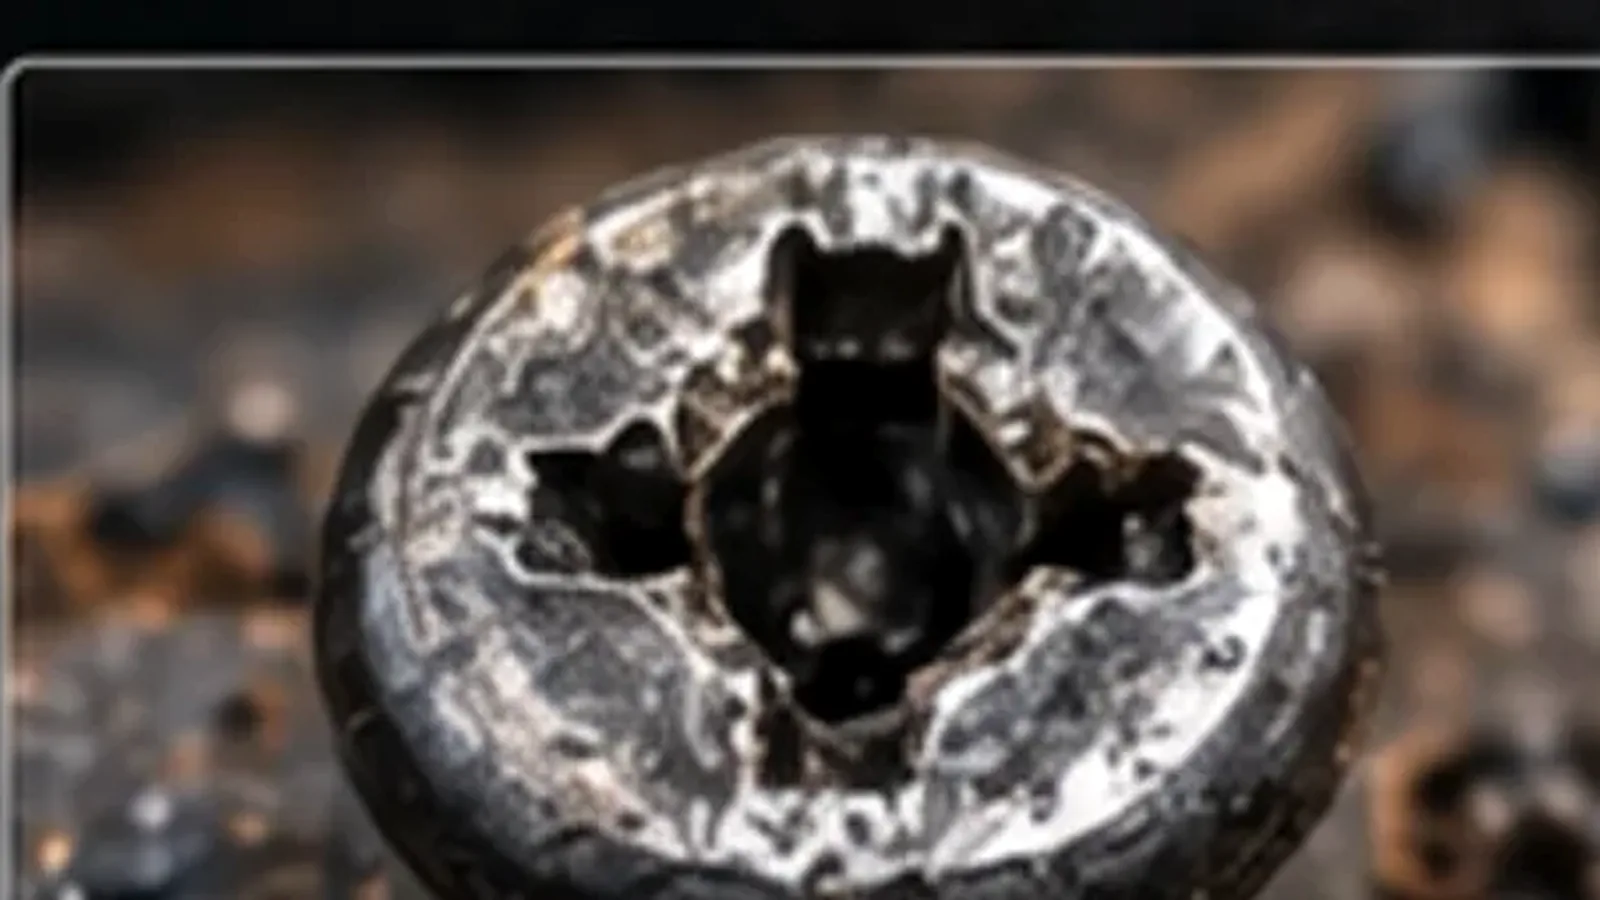

A damaged slotted is a torque-transfer problem. The goal is to create a reliable new drive path while removing as little material as possible.
What you’ll need
- correct-size driver or bit
- driver handle with strong axial control
- screw extractor set
- locking pliers
- small rotary/cutting tool where appropriate
- eye protection
Stop before the drive gets worse
A slotted drive has little resistance to the blade climbing out, so driver width and thickness matter. If the tool is slipping now, more of the same torque rarely improves the situation.
Match the method to the available geometry
For a slotted-head screw, look at how much drive recess or external head remains and whether the surrounding surface can tolerate cutting, gripping or drilling.
Reduce the torque required
Corrosion, threadlocker, clamp load and damaged threads can all increase removal torque. Address those causes where possible instead of relying only on more driver force.
Step-by-step
Clean and inspect
Remove paint, dirt and loose metal so the driver can seat as deeply as possible.
Try a fresh exact-fit tool
Keep the tool square to the fastener and apply controlled axial pressure.
Create a new way to transmit torque
Depending on access, use external gripping, a cut slot, an interference-fit bit or a dedicated extractor.
Use drilling as a controlled escalation
If the head must be sacrificed, protect the surrounding material and keep the drill centered.
Method comparison
| Method | Best when | Main risk |
|---|---|---|
| Fresh correct driver | Some drive geometry remains | Further cam-out if size is wrong |
| External grip | Head edge is accessible | Crushes or rounds the head |
| Extractor | Centered access and adequate material | Tool breakage |
| Head drilling | Fastener can be sacrificed | Surface or hole damage |
Common mistakes to avoid
Repeatedly using the same slipping driver is the fastest way to turn a partly damaged recess into a completely rounded one. Other common errors are using a worn bit, choosing a size that is merely close, holding the driver at an angle, or jumping straight to drilling when useful head geometry still remains. Reduce the torque required before demanding more grip: clean the recess, address corrosion or threadlocker where appropriate, and keep the driver square. Escalation should create a better torque path, not simply apply more force to a failing one.
After the fastener is removed
Discard a screw or bolt whose drive or head has been seriously damaged unless the application specifically allows reuse and the fastener remains otherwise serviceable. Inspect the mating thread and the seating surface for damage caused during removal. Before installing the replacement, confirm the correct diameter, pitch, length and drive size, then start it by hand. If abnormal resistance returns during the first turns, stop and diagnose the thread instead of using the new fastener to cut through the problem.
Technical references
Use the instructions for the exact fastener, driver, extractor or repair product you are working with. These references support the terminology and general method choices in this guide.