How Deep Should a Thread Insert Be Installed?
How to choose and verify thread-insert installation depth without blocking the hole or leaving the insert proud.

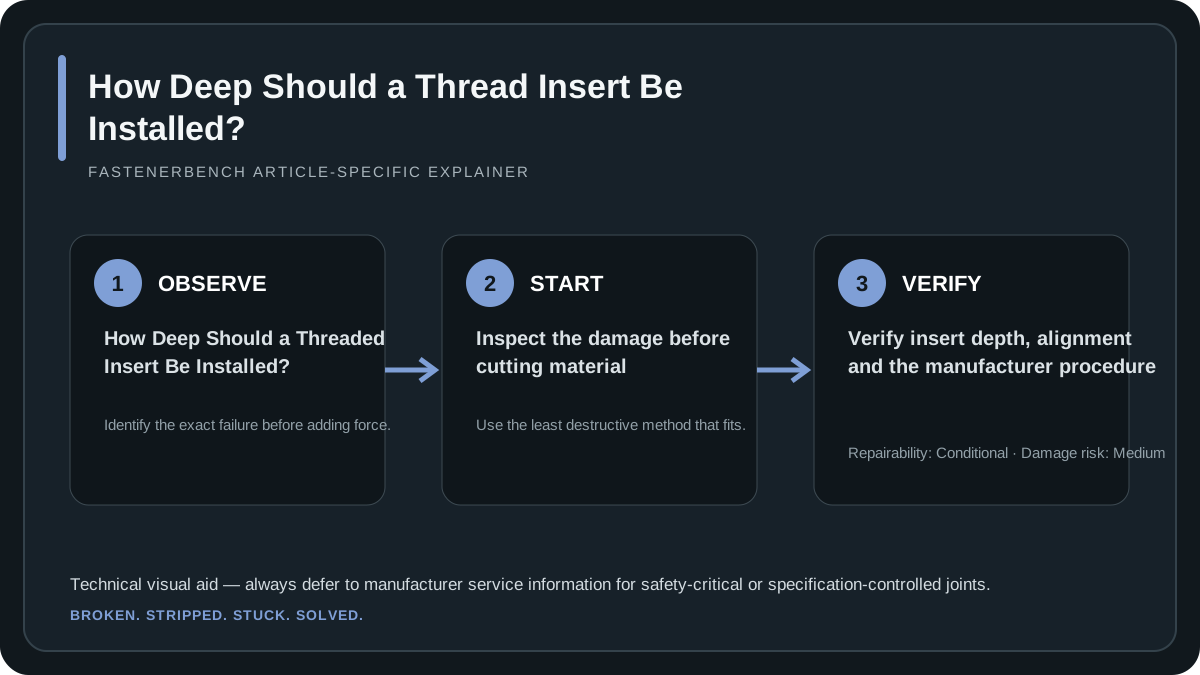
“Flush” is not a universal rule. Wire inserts, solid bushings and key-locking inserts can have different seating requirements, and the top surface may not be the functional reference in every component.
What you’ll need
- thread gauge or known-good matching fastener
- good lighting and magnification
- nylon or brass cleaning brush
- appropriate tap or thread chaser when needed
- cutting fluid when cutting metal
- eye protection
Read the system instructions first
The manufacturer may specify turns below the surface, a counterbore shoulder or a driver stop.
Account for blind-hole bottom clearance
The fastener must not bottom before the joint clamps.
Protect sealing and bearing surfaces
An insert left proud can interfere with washers, gaskets or mating parts.
Step-by-step
Measure available thread depth
Include any incomplete tap runout at the bottom.
Select insert length
Choose a listed length that fits the usable engagement.
Prepare the hole to the required depth
Do not deepen blindly into passages or thin walls.
Install to the specified position
Count turns or use the system’s stop/driver method.
Test full fastener engagement
Verify the bolt can reach the intended clamping position without contacting the hole bottom.
Method comparison
| Approach | Use it when | Main caution |
|---|---|---|
| Wire insert | System specifies coil position below surface | Too deep can reduce usable engagement |
| Solid bushing | Counterbore/shoulder controls seating | Proud flange or shoulder interference |
| Blind hole | Limited bottom clearance | Fastener or tool bottoms out |
Common insert-selection and installation mistakes
Thread-repair systems are not generic pieces of hardware. A coil insert, solid bushing and key-locking insert can require different drill diameters, special taps, counterbores, installation depths and locking steps. Mixing dimensions from different systems, choosing length only by intuition, or drilling deeper without checking what is behind a blind hole can ruin an otherwise repairable component. Use the exact technical data for the kit in hand and verify that the parent material has enough sound wall thickness for the preparation.
Verify the repair before returning the joint to service
Inspect insert seating, remove installation debris and confirm that the intended fastener engages by hand through the required length. Make sure no insert end, tang, key or bushing interferes with a passage, sealing surface or the end of a blind hole. If the joint has a specified tightening procedure, follow it exactly, including lubricant condition. A clean-looking insert is not by itself evidence that the repair is approved for a safety-critical or highly loaded application.
Technical decision depth
Thread repair should begin with a material-loss diagnosis. Dirt, corrosion products, cured sealant and small burrs can make a sound thread feel damaged. Light deformation may still leave most of the original flank geometry available. Stripped threads are different: the load-bearing material is gone. Cleaning, chasing, cutting and inserting therefore belong to different stages of the decision tree. A cleaner-looking hole is not automatically a stronger one.
Geometry is just as important as nominal thread size. Check usable depth, wall thickness, whether the hole is blind or through, and whether the repaired fastener must retain its original location. Insert systems preserve nominal internal size by creating a larger preparation thread around it, so the surrounding boss must have enough material for that system. If the hole is already enlarged, eccentric, cracked or close to an edge, standard repair-kit instructions may no longer describe the actual condition. At that point the component—not just the thread—needs to be evaluated.
Technical references
FastenerBench uses manufacturer documentation and established fastener references for terminology and repair-system details. Always follow the instructions and limits for the exact repair system and component you are working on.
