How to Center a Drill on a Broken Bolt
Accurate centering matters more than drilling speed. Clean the fracture, mark the geometric center, create a real punch dimple, and use a small rigid pilot drill.

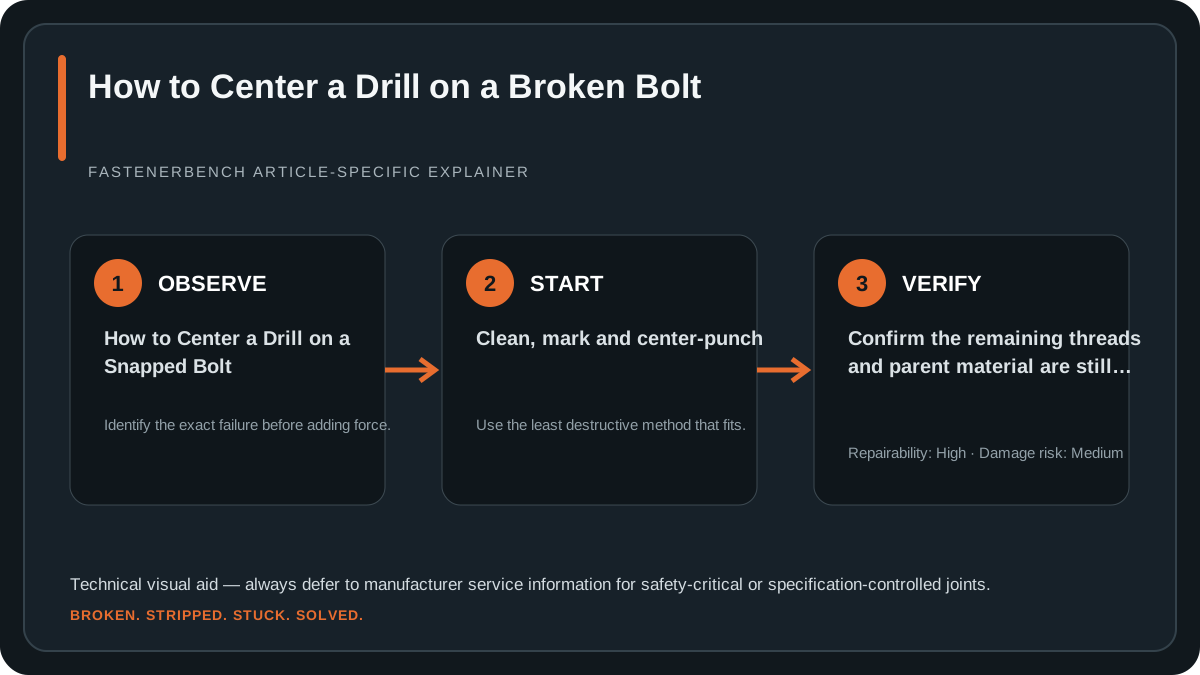
Many failed broken-bolt repairs begin with a pilot hole that is only slightly off-center. As the drill size grows, that small error turns into lost parent material and damaged threads.
What you’ll need
- center punch
- small sharp drill bit
- drill guide where possible
- magnification or strong lighting
- layout marker
- eye protection
Expose the true bolt boundary
Remove rust, paint and burrs until you can see the original circular edge.
Mark geometric center
Use the diameter of the fastener as your reference. An irregular fracture surface can be visually misleading.
Punch deeply enough to guide the bit
A faint mark does not prevent skating. Keep the punch normal to the bolt axis.
Correct early, not late
If the pilot starts to wander, stop while it is still small. Re-establish the center rather than hoping a larger bit will self-correct.
Step-by-step
Clean and mark
Establish the true circle and center point.
Punch
Create a positive conical seat for the pilot.
Pilot drill
Use low runout and steady axial alignment.
Inspect before enlarging
Compare the pilot to the visible thread wall all around the hole.
Method comparison
| Method | Best when | Main risk |
|---|---|---|
| Center punch | Most accessible breaks | Punch skates on hard/angled fracture |
| Drill guide | Flat surrounding surface | Poor fit or misalignment |
| Rigid machine setup | Removable part and high-value hole | Setup time |
Common mistakes that make extraction harder
The most damaging mistakes are usually made during escalation: drilling before the center is established, using an extractor that is too large for the pilot hole, adding more torque after the extractor begins to twist, or ignoring the reason the fastener seized in the first place. If corrosion or thread damage caused the break, the removal method must reduce that resistance as well as create a new way to turn the fastener. Keep the setup rigid, enlarge holes in controlled steps, and preserve as much of the original thread location as possible.
What to check after the bolt is out
Do not install a replacement immediately. Remove chips and corrosion, inspect the female threads under good light, and hand-start a known-correct fastener through the usable engagement. Look for tight spots, missing flanks and evidence that drilling touched the parent material. If the thread is only dirty or lightly deformed, cleaning or chasing may be sufficient; if load-bearing material is missing, move to a documented thread-repair method rather than forcing the new bolt to “make its own way.”
Technical references
Use the instructions for the exact fastener, driver, extractor or repair product you are working with. These references support the terminology and general method choices in this guide.
Technical decision note
Technical decision note: Centering is easiest when you separate marking from drilling. Flatten or clean the fracture enough to see where the center should be, make a small positive punch mark, then start with a rigid short drill rather than a long flexible bit. Check alignment before the pilot hole becomes deep enough to guide every later drill. Correcting a shallow start is much easier than correcting a deep off-axis hole.