Penetrating Oil vs Heat for Stuck Bolts
Penetrating Oil vs Heat for Stuck Bolts.
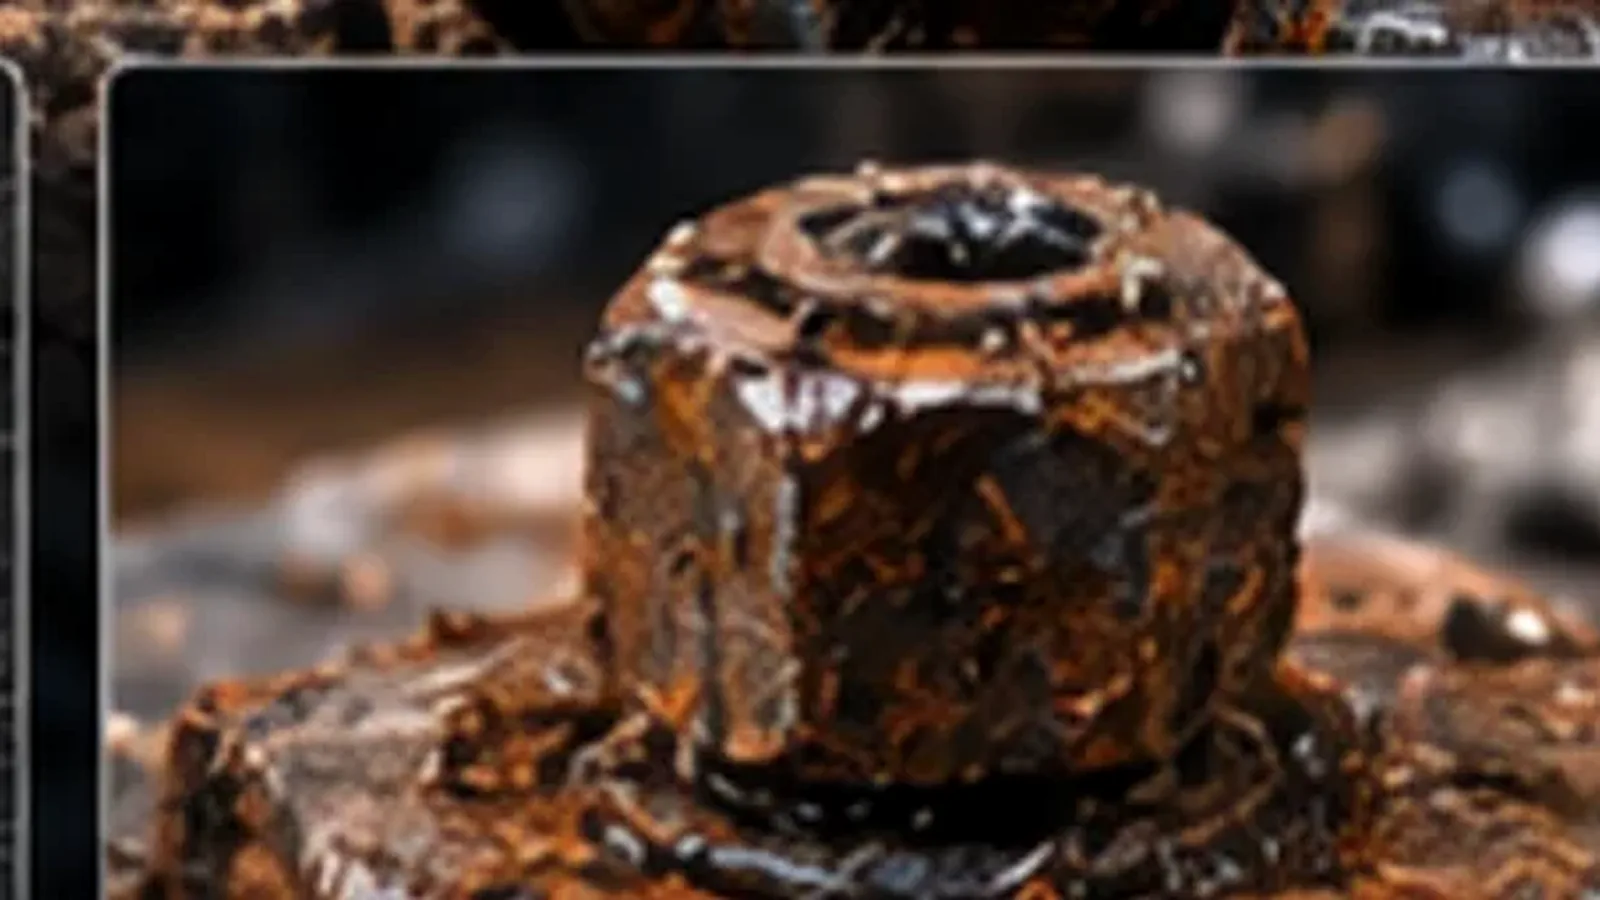

Start by identifying what is actually resisting motion. Corrosion, galling, threadlocker, contamination and mechanical damage respond differently. A good escalation plan uses the least hazardous method likely to address the cause.
What you’ll need
- penetrating oil
- wire brush
- impact sockets
- heat source only where approved
- fire protection appropriate to the workspace
Quick comparison
| Method | Best use | Watch for |
|---|---|---|
| Penetrating oil | Corroded threaded joints with a path for fluid | Needs access and dwell time |
| Heat | Robust assemblies where thermal expansion is safe and useful | Fire risk; seals, coatings and heat-treated parts may be affected |
| Impact | Breaking static friction on suitable hardware | Can damage weak heads or delicate castings |
Use penetrant before reaching for more torque
Clean loose corrosion so the fluid can reach the joint. Apply a small amount at the most useful interface and give it time; repeated cycles can be more useful than soaking the entire area. Penetrant is not magic, but it adds little mechanical risk compared with increasing leverage immediately.
Heat requires component-specific judgment
Heating a surrounding component can change dimensions and disrupt corrosion, but the same heat can damage seals, plastic, paint, adhesives, bearings, electronics or material properties. Never use flame near fuel or flammable vapors, and do not treat a generic “heat it” recommendation as permission on a safety-critical assembly.
How to judge whether the repair is working
A successful repair becomes more controlled as you progress: tools stay centered, the fastener or thread responds without sudden deformation, and each step preserves a clear path to the next option. Stop when the evidence moves in the opposite direction—tool twist, off-center cutting, cracking, missing wall material, rapidly increasing drag or loss of a reliable reference surface. Those signs mean the original repair plan no longer matches the condition of the part.
For high-load, safety-critical, pressure-containing or manufacturer-controlled joints, visual improvement alone is not proof that the joint is serviceable. Use the equipment maker’s inspection, replacement and torque requirements.
Technical decision depth
Removal torque does not tell you the cause of resistance by itself. Rust can lock exposed thread surfaces, galling can transfer metal between mating stainless threads, contamination can pack into the joint, and damaged threads can mechanically jam. Those conditions respond differently to penetrant, vibration, heat and back-and-forth movement. Before increasing leverage, look for exposed corrosion, transferred metal, thread damage and whether resistance changes as the fastener moves.
A useful escalation step should lower the resistance or improve control, not merely increase peak torque. Cleaning exposed threads can stop rust scale being dragged through a nut. Penetrant may help where a path exists into a corroded interface. Controlled impact can break static friction without the long torsional wind-up of a breaker bar. Heat can change clearances or break corrosion bonds, but it can also damage seals, coatings, temper or nearby components. The surrounding assembly decides whether that method is appropriate.
Additional case-specific note
Penetrant and heat can complement each other, but sequence and safety matter. Heating can reduce or destroy some penetrants and may create fire or vapor hazards, so do not apply open flame to a wet, flammable product. Heat also changes dimensions across the joint; the useful target is controlled differential expansion where the assembly allows it, not simply making everything as hot as possible.
Technical references
Use the specifications for the exact fastener, tool, lubricant, adhesive or repair system in your application. These references support the terminology and general method choices in this guide.
Diagnose resistance before adding more force
Removal torque is only a symptom. Before escalating, look for clues about the source of resistance: orange or brown corrosion products, damaged exposed threads, evidence of a prevailing-torque nut, dried sealant or locking compound, or the abrupt rough feel associated with galling. Clean anything you can reach and make sure the tool is fully seated. A fastener that moves a few degrees and then gets progressively tighter should be treated differently from one that has never moved at all.
Preserve options as you work. Once a hex is badly rounded, a stud is snapped flush, or a drill hole is off-center, the next repair becomes more difficult and more expensive. Short controlled attempts, inspection between attempts, and a willingness to change methods are usually better than one long pull on a breaker bar. If the component is valuable, thin-walled, cast, heat-sensitive or difficult to replace, set a lower threshold for stopping.
Reassembly matters as much as removal
After the fastener is out, inspect both mating threads rather than assuming the job is finished. Remove corrosion and chips, verify that the replacement fastener is the correct diameter, pitch, material and grade for the joint, and hand-start it before applying torque. Lubricants, anti-seize and threadlockers can change friction or locking behavior, so use them only when compatible with the equipment or fastener specification. A successful extraction followed by an incorrect reassembly can create the same problem again—or create a new one.
Final check
Work cleanly, verify the thread and fastener specification, and stop if the repair begins to damage the parent component. The least destructive method that restores a reliable joint is usually preferable to a more aggressive shortcut.
Final check
Work cleanly, verify the thread and fastener specification, and stop if the repair begins to damage the parent component. The least destructive method that restores a reliable joint is usually preferable to a more aggressive shortcut.
Penetrant and heat act through different mechanisms
Penetrating fluid attempts to reach interfaces and reduce friction or corrosion binding; heat changes dimensions and can disturb corrosion or cured compounds. Their usefulness depends on access, material pair, nearby components and the actual cause of seizure. Neither should be applied automatically to every stuck fastener.
Decision checkpoint
Do not combine chemicals and heat casually. Penetrating products can be flammable, and nearby fuel, seals, coatings, wiring or plastic can make heat inappropriate. Allow products to dissipate as directed and follow the relevant product and equipment safety instructions before introducing a heat source.
Technical decision note
Technical decision note: Penetrating oil and heat act on different parts of the problem. Penetrant needs a path into the interface and time to migrate; heat changes dimensions and can disrupt corrosion but may damage seals, coatings, temper-sensitive parts or nearby materials. They are not interchangeable steps. Choose heat only when the component and surroundings can tolerate it, and never apply a flame where fuel, solvent or other ignition hazards are present.