Penetrating Oil vs Lubricating Oil
Penetrating Oil vs Lubricating Oil.

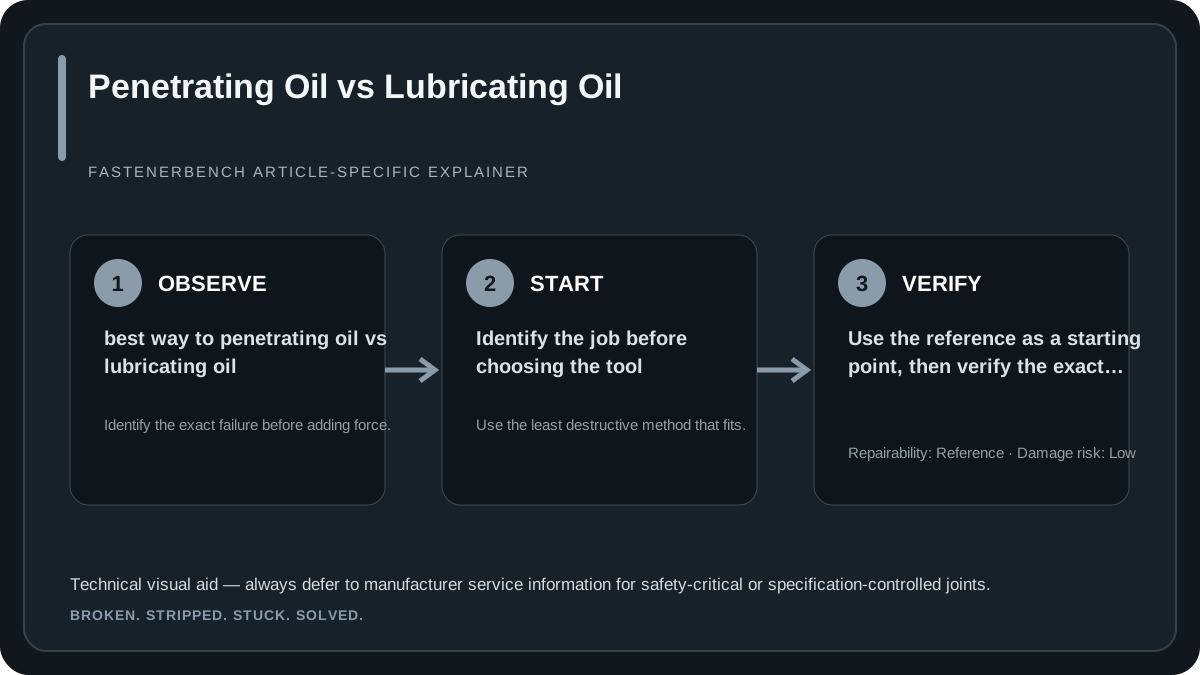

Product formulations vary, so the label and technical data matter more than the generic category name. For seized fasteners, access to the actual corrosion interface is as important as the fluid you choose.
Quick comparison
| Method | Best use | Watch for |
|---|---|---|
| Penetrating oil | Corroded/stuck threaded interfaces | Needs a physical path and dwell time |
| Lubricating oil | Ongoing friction and wear control | May be too viscous or not optimized for penetration |
Technical decision depth
Removal torque does not tell you the cause of resistance by itself. Rust can lock exposed thread surfaces, galling can transfer metal between mating stainless threads, contamination can pack into the joint, and damaged threads can mechanically jam. Those conditions respond differently to penetrant, vibration, heat and back-and-forth movement. Before increasing leverage, look for exposed corrosion, transferred metal, thread damage and whether resistance changes as the fastener moves.
A useful escalation step should lower the resistance or improve control, not merely increase peak torque. Cleaning exposed threads can stop rust scale being dragged through a nut. Penetrant may help where a path exists into a corroded interface. Controlled impact can break static friction without the long torsional wind-up of a breaker bar. Heat can change clearances or break corrosion bonds, but it can also damage seals, coatings, temper or nearby components. The surrounding assembly decides whether that method is appropriate.
Additional case-specific note
A general lubricant is designed mainly to reduce friction between moving surfaces; a penetrant emphasizes migration into tight interfaces and corrosion-related joints. Some products combine properties, but the labels are not interchangeable guarantees. For assembly after repair, use the lubricant or anti-seize condition specified for that fastener rather than assuming the penetrant left in the joint is an acceptable assembly lubricant.
Technical references
Use the specifications for the exact fastener, tool, lubricant, adhesive or repair system in your application. These references support the terminology and general method choices in this guide.
Choose by function, not by the label on the package
Fastener tools and compounds are often sold under overlapping names. The useful question is what the product actually does to the joint: cut material, restore existing geometry, grip a damaged head, reduce friction, lock engaged threads, or reach corrosion. Read the manufacturer’s description and technical data for the exact product rather than assuming two similarly named items are interchangeable.
For repair work, also consider what must be preserved. A disposable bolt in an expensive casting calls for a different risk balance than a reusable fastener in a cheap bracket. The correct method should solve the immediate problem without unnecessarily removing parent material, changing the designed friction condition or making later service harder.
Verify before final assembly
After any thread or fastener repair, clean the parts and confirm smooth hand engagement. If a torque specification applies, follow its stated thread condition—dry, lubricated or treated with a particular compound. Do not transfer a generic torque value from a different material, coating or lubrication condition. For critical joints, the equipment manufacturer’s procedure takes priority over general reference guidance.
Final check
Work cleanly, verify the thread and fastener specification, and stop if the repair begins to damage the parent component. The least destructive method that restores a reliable joint is usually preferable to a more aggressive shortcut.