
How Long Should Penetrating Oil Sit on a Rusted Bolt?
How Long Should Penetrating Oil Sit on a Rusted Bolt. Practical FastenerBench guidance on diagnosis, least-destructive repair options, tools, risks and whe.
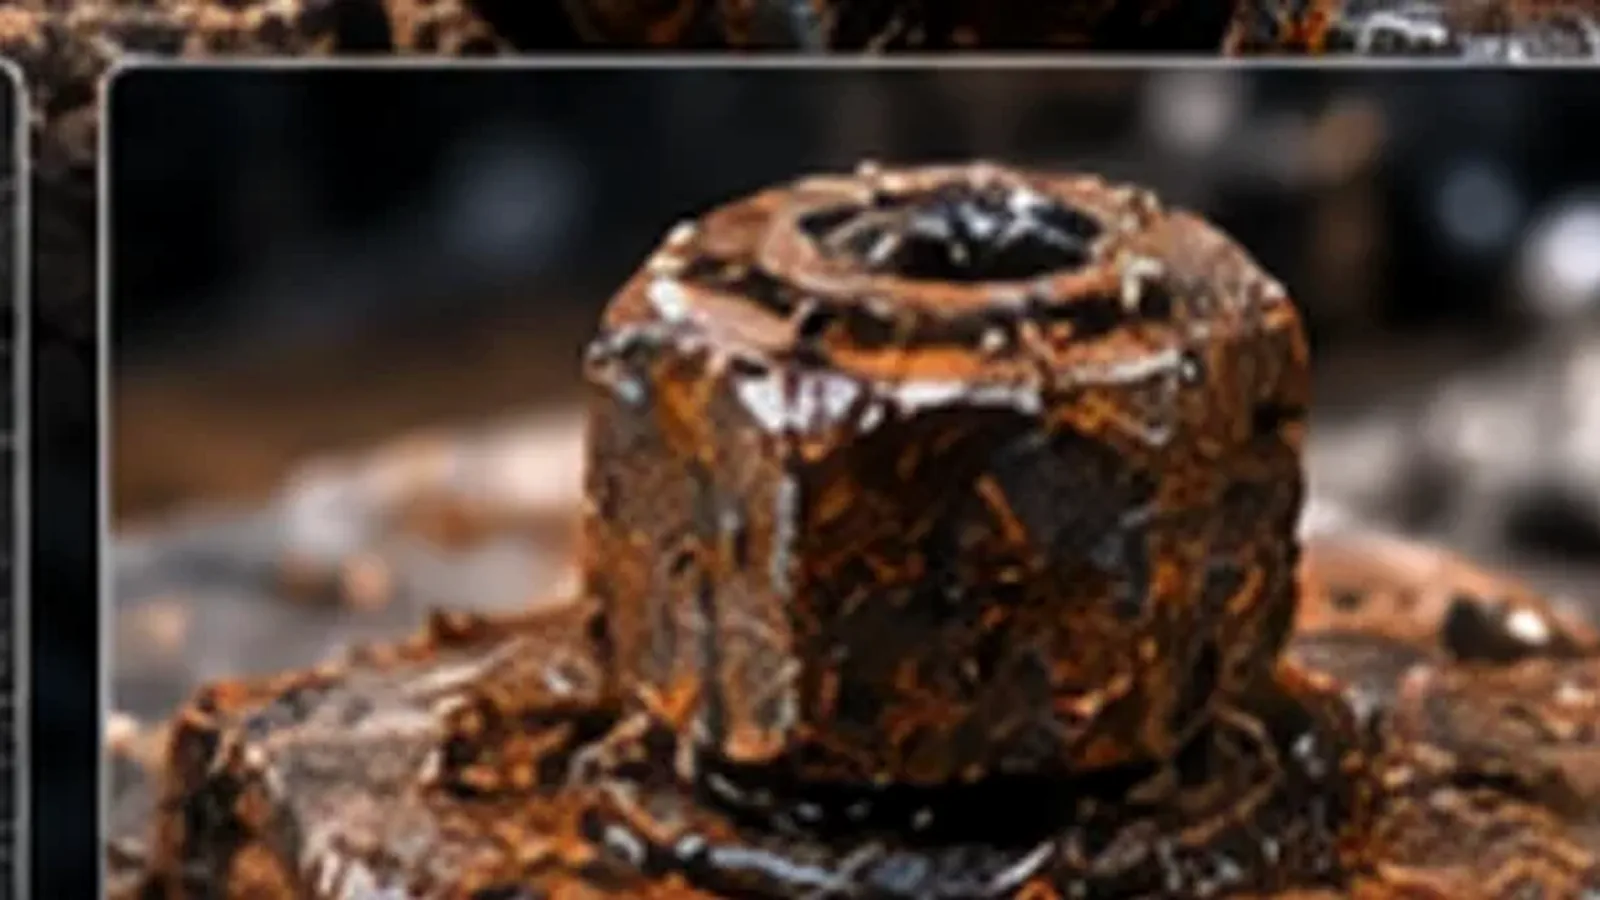

The useful question is not “How many minutes?” but “Can the penetrant reach the corrosion?” A closed blind joint may provide almost no path from the visible bolt head to the threads, while an exposed nut-and-bolt joint may allow fluid to wick from either side.
What you’ll need
- penetrating oil
- wire brush
- shop towels
- proper socket or wrench
Prepare the joint first
Brush away flaky rust and dirt. If threads protrude beyond a nut, clean those threads before turning the nut across them. Apply penetrant where gravity and capillary action can carry it toward the interface rather than simply coating the bolt head.
Use repeated cycles, not arbitrary soaking
Follow the product instructions. After the recommended dwell, test with controlled torque. If nothing changes and the joint is still intact, reapply and allow another cycle. Tapping or vibration can sometimes help distribute fluid on robust parts, but avoid impacts that could damage castings or sensors.
Technical decision depth
Removal torque does not tell you the cause of resistance by itself. Rust can lock exposed thread surfaces, galling can transfer metal between mating stainless threads, contamination can pack into the joint, and damaged threads can mechanically jam. Those conditions respond differently to penetrant, vibration, heat and back-and-forth movement. Before increasing leverage, look for exposed corrosion, transferred metal, thread damage and whether resistance changes as the fastener moves.
A useful escalation step should lower the resistance or improve control, not merely increase peak torque. Cleaning exposed threads can stop rust scale being dragged through a nut. Penetrant may help where a path exists into a corroded interface. Controlled impact can break static friction without the long torsional wind-up of a breaker bar. Heat can change clearances or break corrosion bonds, but it can also damage seals, coatings, temper or nearby components. The surrounding assembly decides whether that method is appropriate.
Technical references
Use the specifications for the exact fastener, tool, lubricant, adhesive or repair system in your application. These references support the terminology and general method choices in this guide.
Diagnose resistance before adding more force
Removal torque is only a symptom. Before escalating, look for clues about the source of resistance: orange or brown corrosion products, damaged exposed threads, evidence of a prevailing-torque nut, dried sealant or locking compound, or the abrupt rough feel associated with galling. Clean anything you can reach and make sure the tool is fully seated. A fastener that moves a few degrees and then gets progressively tighter should be treated differently from one that has never moved at all.
Preserve options as you work. Once a hex is badly rounded, a stud is snapped flush, or a drill hole is off-center, the next repair becomes more difficult and more expensive. Short controlled attempts, inspection between attempts, and a willingness to change methods are usually better than one long pull on a breaker bar. If the component is valuable, thin-walled, cast, heat-sensitive or difficult to replace, set a lower threshold for stopping.
Reassembly matters as much as removal
After the fastener is out, inspect both mating threads rather than assuming the job is finished. Remove corrosion and chips, verify that the replacement fastener is the correct diameter, pitch, material and grade for the joint, and hand-start it before applying torque. Lubricants, anti-seize and threadlockers can change friction or locking behavior, so use them only when compatible with the equipment or fastener specification. A successful extraction followed by an incorrect reassembly can create the same problem again—or create a new one.