How to Remove a Broken Bolt Below the Surface
How to remove a bolt broken below the surrounding surface while protecting the original threaded hole.

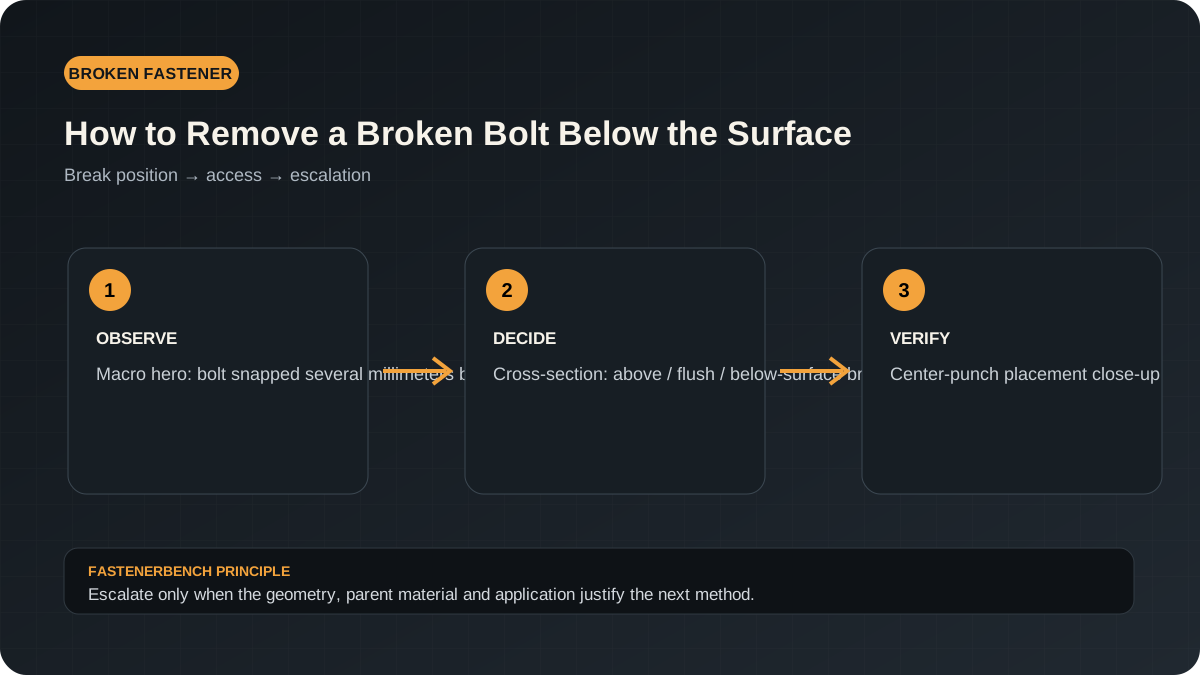
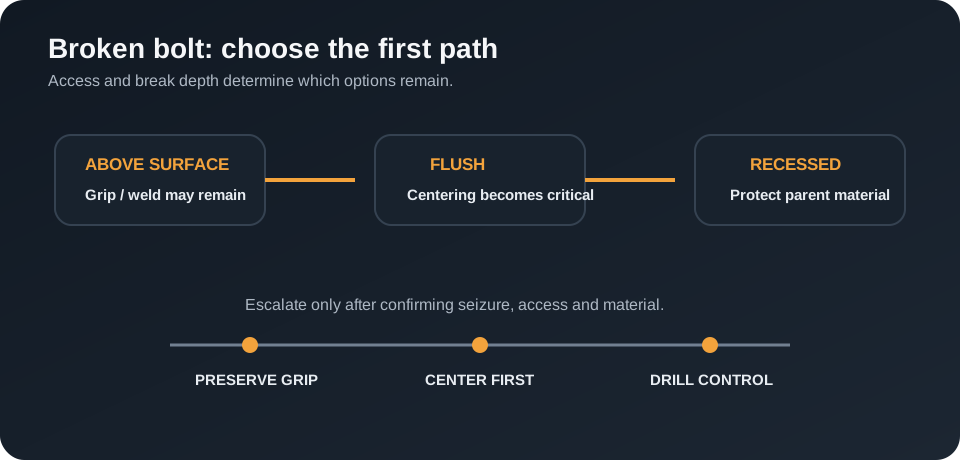

A below-surface break is harder than a protruding stud because you cannot grip the fastener from the outside. The repair succeeds or fails largely on alignment: once the pilot hole wanders into the parent material, later drilling and thread repair become much more difficult.
What you’ll need
- center punch
- left-hand drill bits
- penetrating oil
- bolt extractor set
- eye protection
- a drill guide or rigid setup where access allows
Assess the break before drilling
Confirm that the visible circle is actually the broken fastener and not a sleeve, insert or dowel. Remove loose rust and debris so the edge of the original thread is visible. If the bolt failed because it was heavily seized, assume extraction torque will be higher than normal and plan a conservative escalation path.
Protect the parent material
Mask or shield nearby sealing surfaces. On soft parent material such as aluminum, a hardened drill or extractor can damage the surrounding hole quickly if it wanders. If the part is valuable, awkward to replace, or safety-critical, accurate setup matters more than speed.
Start smaller than the final extraction hole
Use a sharp center punch to establish the center, then a small pilot drill. Keep the drill square to the original bolt axis. Enlarge only as required by the extractor maker or by the controlled drill-out method you have chosen.
Try reverse drilling before extraction
A left-hand drill bit cuts while the drill turns counter-clockwise. If the broken fastener is no longer tightly seized, the reverse action can sometimes start it moving before an extractor is needed. Even when it does not, you have created the pilot hole needed for the next step.
Step-by-step
Expose and clean the break
Remove loose corrosion, oil and chips. Make sure you can see the fastener boundary.
Mark the true center
Use a center punch lightly at first. Correct the mark before committing to a drill.
Drill a straight pilot hole
Use low, controlled pressure and keep the drill aligned with the original bolt axis.
Try a left-hand bit
Run in reverse at an appropriate speed for the material and bit. Stop if the bit skates or flexes.
Escalate to an extractor only if needed
Use the extractor size specified for the pilot hole. Apply steady torque; do not use the extractor as a pry tool.
Inspect the original threads
After removal, clean the hole and test with the correct fastener by hand before deciding whether chasing or thread repair is required.
Method comparison
| Method | Use it when | Watch for |
|---|---|---|
| Left-hand drill | Centered pilot hole; bolt may no longer be tightly seized | Bit wandering into parent material |
| Spiral extractor | Centered hole and enough bolt wall remains | Over-torque can wedge or break the extractor |
| Controlled drill-out | Extraction has failed but original thread location is known | Requires excellent alignment and careful size control |
Common mistakes that make extraction harder
The most damaging mistakes are usually made during escalation: drilling before the center is established, using an extractor that is too large for the pilot hole, adding more torque after the extractor begins to twist, or ignoring the reason the fastener seized in the first place. If corrosion or thread damage caused the break, the removal method must reduce that resistance as well as create a new way to turn the fastener. Keep the setup rigid, enlarge holes in controlled steps, and preserve as much of the original thread location as possible.
What to check after the bolt is out
Do not install a replacement immediately. Remove chips and corrosion, inspect the female threads under good light, and hand-start a known-correct fastener through the usable engagement. Look for tight spots, missing flanks and evidence that drilling touched the parent material. If the thread is only dirty or lightly deformed, cleaning or chasing may be sufficient; if load-bearing material is missing, move to a documented thread-repair method rather than forcing the new bolt to “make its own way.”
How to judge whether the repair is working
A successful repair becomes more controlled as you progress: tools stay centered, the fastener or thread responds without sudden deformation, and each step preserves a clear path to the next option. Stop when the evidence moves in the opposite direction—tool twist, off-center cutting, cracking, missing wall material, rapidly increasing drag or loss of a reliable reference surface. Those signs mean the original repair plan no longer matches the condition of the part.
For high-load, safety-critical, pressure-containing or manufacturer-controlled joints, visual improvement alone is not proof that the joint is serviceable. Use the equipment maker’s inspection, replacement and torque requirements.
Control the pilot before you increase drill size
A below-surface break removes the flat reference that normally helps position a drill. That makes the first pilot hole the most important part of the job. Use the smallest practical pilot that remains rigid enough for the depth, check alignment from two directions, and correct a minor error before enlarging. Once a larger drill follows an off-center pilot, it can cut into the female thread or thin one side of the broken fastener enough to make an extractor expand it against the hole.
If the surrounding component prevents a square approach, improve access or use a drill guide rather than trying to steer the bit sideways. A slower, centered operation preserves more options: the broken piece may release with a left-hand bit, remain suitable for an extractor, or still leave enough original thread to chase after removal. The goal is not simply to make a hole in the bolt; it is to keep the hole aligned with the original fastener axis.
Technical references
Always follow the instructions for the exact drill, extractor, insert or repair system you use. These references support the terminology and method choices in this guide.
Centering is the dominant risk
A recessed break removes the visual and mechanical reference you would normally get from an exposed shank. Treat the top of the broken fastener as a machining target: establish a true center, start with a small rigid pilot, and reassess alignment before enlarging the hole. The deeper the break sits below the surface, the harder it is to correct a wandering drill without touching the parent thread.
Decision checkpoint
Before moving to a larger drill, verify that the pilot remains centered from more than one viewing angle. A centered small pilot is still recoverable; a large off-center hole is not. If access prevents a square approach, changing the setup or using a guide is safer than compensating by hand pressure.