How to Remove a Broken Bolt Flush With the Surface
A practical sequence for removing a bolt snapped flush with the surrounding surface.

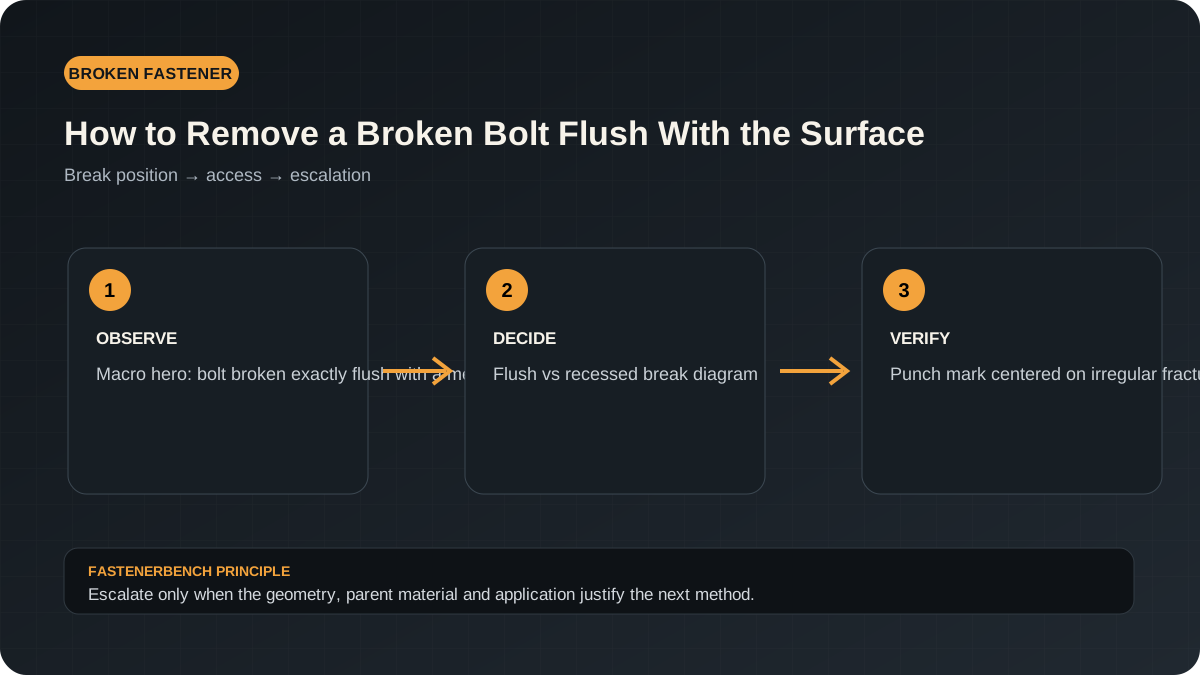
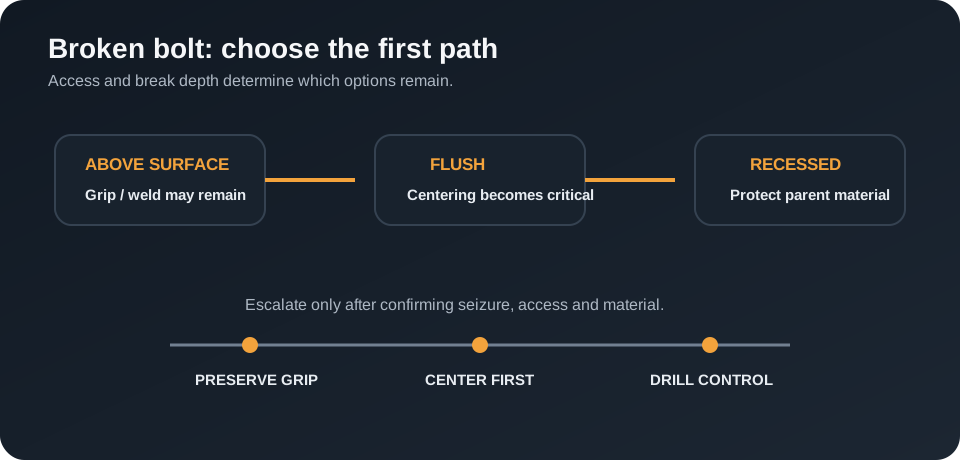

With a flush bolt, the surrounding face becomes your reference plane. That helps alignment, but it also means a slipping drill or grinder can scar the component quickly. The least destructive path is still: inspect, center, pilot drill, then escalate.
What you’ll need
- center punch
- left-hand drill bits
- bolt extractor set
- penetrating oil
- optional welding equipment when appropriate
- eye and hand protection
Choose between drilling and welding
If the surrounding part can tolerate heat and you are equipped to weld, adding a washer and nut can create a new external drive point. If heat could damage seals, paint, heat-treated parts or electronics, stay with drilling-based methods.
Use the fracture pattern to find center
Broken bolts rarely leave a perfectly flat face. Do not automatically punch the highest point of the fracture. Use the circular boundary of the bolt and the original hole as the reference, then place the punch mark at the geometric center.
Keep the first hole small and controlled
The first pilot hole determines every later step. A small sharp bit is easier to correct than a large bit. If access forces the drill at an angle, reconsider the setup before removing material.
Step-by-step
Clean and inspect
Expose the full circular outline and decide whether corrosion is likely to be holding the fastener.
Punch the center
Use the hole boundary, not the rough fracture peak, to locate the center.
Pilot drill in reverse
A left-hand bit may turn out a right-hand fastener while creating the pilot.
Use an extractor carefully
Follow the extractor drill-size requirement and use steady, aligned torque.
Consider welding only where appropriate
A welded nut can provide both grip and heat, but avoid this route around heat-sensitive components.
Verify the threads
Clean and hand-test the correct fastener after removal.
Method comparison
| Method | Use it when | Watch for |
|---|---|---|
| Reverse drilling | Good access and a centered punch mark | Drill wander |
| Extractor | Pilot hole is centered and bolt is not extremely seized | Extractor breakage |
| Welded nut | Heat is acceptable and welding access is good | Heat damage or poor weld penetration |
Common mistakes that make extraction harder
The most damaging mistakes are usually made during escalation: drilling before the center is established, using an extractor that is too large for the pilot hole, adding more torque after the extractor begins to twist, or ignoring the reason the fastener seized in the first place. If corrosion or thread damage caused the break, the removal method must reduce that resistance as well as create a new way to turn the fastener. Keep the setup rigid, enlarge holes in controlled steps, and preserve as much of the original thread location as possible.
What to check after the bolt is out
Do not install a replacement immediately. Remove chips and corrosion, inspect the female threads under good light, and hand-start a known-correct fastener through the usable engagement. Look for tight spots, missing flanks and evidence that drilling touched the parent material. If the thread is only dirty or lightly deformed, cleaning or chasing may be sufficient; if load-bearing material is missing, move to a documented thread-repair method rather than forcing the new bolt to “make its own way.”
How to judge whether the repair is working
A successful repair becomes more controlled as you progress: tools stay centered, the fastener or thread responds without sudden deformation, and each step preserves a clear path to the next option. Stop when the evidence moves in the opposite direction—tool twist, off-center cutting, cracking, missing wall material, rapidly increasing drag or loss of a reliable reference surface. Those signs mean the original repair plan no longer matches the condition of the part.
For high-load, safety-critical, pressure-containing or manufacturer-controlled joints, visual improvement alone is not proof that the joint is serviceable. Use the equipment maker’s inspection, replacement and torque requirements.
Technical decision depth
A broken-fastener repair is controlled by three variables: how much of the fastener remains accessible, why it stopped turning, and how accurately you can work on the original axis. Those variables determine whether external grip, reverse drilling, extraction, welding or controlled drill-out is the least destructive next method. Treat the fracture face as evidence. Heavy rust at the interface points toward corrosion; a bright torsional fracture after high removal torque suggests the fastener may still be tightly loaded; an off-center previous hole changes what can safely be attempted next.
The best escalation plan preserves options. Cleaning and accurate centering preserve the original hole. A small pilot leaves room to correct alignment. A left-hand bit can create that pilot without committing to an extractor. An extractor should only be used while there is enough fastener wall to support it and while the tool remains straight. Once a hardened extractor twists or a drill starts cutting parent material, the risk curve changes sharply. That is the point to stop, improve the setup, or move the part to a machine-shop process rather than simply adding leverage.
Additional case-specific note
A flush fracture is also a good place to compare methods before cutting. If a nut can be welded safely, that route restores an external drive point and can add a heat cycle to the joint. If welding is inappropriate, accurate reverse drilling keeps the original thread center visible for longer. Grinding a slot may work on low-torque screws but can remove the very reference surface needed for later drilling, so it should not be treated as a harmless intermediate step.
Technical references
Always follow the instructions for the exact drill, extractor, insert or repair system you use. These references support the terminology and method choices in this guide.
Use the surface as your alignment reference
A flush break gives a useful reference plane but no grip. Protect that advantage. A punch mark or drill guide should be centered on the fastener rather than visually centered in an irregular fracture. If the fracture is sloped, flattening or carefully establishing a starting point may be more important than immediately increasing drill size.
Technical decision note
Technical decision note: A flush break gives you almost no side surface to grip, so the first objective is preserving the centerline. Clean the fracture face before marking it, support the work so it cannot shift, and use a sharp center punch before drilling. If the mark lands off-center, correct the mark before increasing drill size; once the pilot hole wanders into the parent material, later extraction and thread repair become harder.